Lighting Techniques for Outdoor Photography Across the U.S.
Share
Natural light is one of the most important elements in outdoor photography. Mastering how to use it effectively can elevate your shots, helping you capture the true essence of diverse landscapes across the United States. From the soft glow of the golden hour to the vibrant light of midday, understanding lighting techniques and how they interact with different environments is key to capturing stunning outdoor photos. Let’s explore how you can make the most of natural light while shooting in various locations across the U.S.
1. Importance of Natural Light in Outdoor Photography
Natural light is a powerful tool that can transform an ordinary shot into something extraordinary. It defines the mood, texture, and depth of your images, bringing out the best in your subject and environment. The angle, intensity, and quality of light change throughout the day, so learning to work with these changes is essential for outdoor photographers. Whether you're shooting on the beach, in the mountains, or in a bustling city, understanding how to use light to your advantage will help you capture the perfect shot.
Tip: Observe how light interacts with the landscape and be patient—it’s all about waiting for the right moment when the light is at its best.
2. Lighting Techniques for Different Times of the Day
The time of day dramatically affects the quality of light in your photos. Here are a few key moments and how to make the most of them:
- Golden Hour (Shortly After Sunrise & Before Sunset): This is the favorite time for many photographers. The soft, warm light creates long shadows, rich colors, and a flattering glow that adds depth and drama to landscapes.
- Tip: Use this time to shoot landscapes with high contrast between light and shadows, and take advantage of the warm tones to enhance the mood.
-
Blue Hour (Twilight): Blue hour offers cool, soft tones that are perfect for moody, atmospheric shots. The subtle, low light creates a dreamy quality that works well for both landscapes and cityscapes.
Tip: Use longer exposure times during blue hour to capture smooth, balanced images, especially in low-light situations. -
Midday (Bright Sun): Midday light is often harsh and direct, which can be challenging to work with. However, this is the perfect time to shoot in open spaces like deserts or beaches, where you can embrace the strong contrasts and shadows.
Tip: Use a polarizing filter to reduce glare and enhance colors when shooting in harsh sunlight. Seek out shaded areas for softer, more even lighting on your subjects.
3. Specific Challenges of U.S. Environments
Different environments across the U.S. present unique lighting challenges, so it’s important to adapt your approach based on your location.
-
Beaches: Bright, reflective light from the sand and water can make beach photography tricky, especially in the middle of the day. Use the golden hour to capture softer light and vibrant skies.
Tip: A neutral density (ND) filter can help balance exposure in bright conditions, allowing you to capture both the foreground and sky. -
Deserts: The harsh, unfiltered light of the desert creates high contrasts between light and shadow. Golden hour in the desert offers breathtaking light, but midday can also be striking if you're going for a high-contrast look.
Tip: Shoot with the sun behind you to avoid harsh shadows, and focus on capturing the textures and patterns of the desert landscape. -
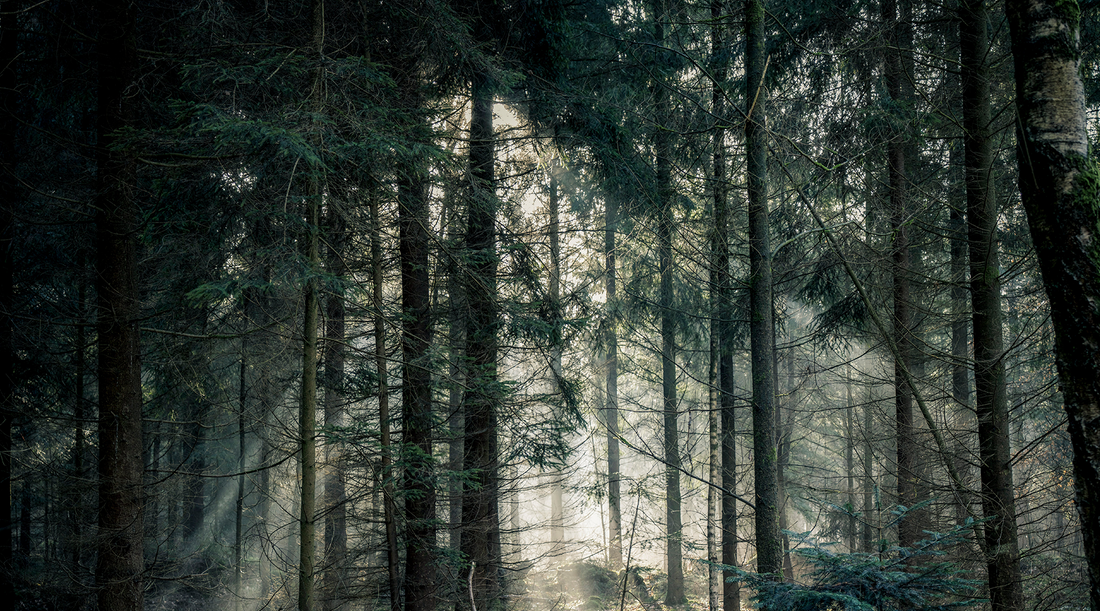
Forests: In forested areas, lighting can be inconsistent due to tree cover, creating dappled light that can be both a challenge and an opportunity. Early morning or late afternoon light filtering through the trees can create magical, soft images.
Tip: Embrace the shadows and highlight patches of light that peek through the canopy to add depth and texture to your shots.
4. Tools and Apps for Tracking Light and Weather
Planning your outdoor shoot around the best light and weather conditions is essential for capturing stunning photos. Using official weather tools like NOAA (National Oceanic and Atmospheric Administration) or The Weather Channel can provide accurate, real-time forecasts, including sunlight hours, cloud cover, and weather patterns. These tools allow you to plan ahead and know exactly when and where lighting will be most favorable for your shoot.
Tip: Check official weather tools regularly to track sunlight and forecasted changes in weather conditions. This will help ensure you’re prepared for the ideal lighting when you arrive at your location.
5. Examples from USAPrimeshot Photographers
USAPrimeshot photographers are experts at using natural light to create captivating images. From the soft glow of sunrise illuminating the Rocky Mountains to the moody blue hour shots of San Francisco’s Golden Gate Bridge, these talented photographers showcase the power of lighting in every shot. Follow our Instagram page to see how they’ve mastered the art of outdoor lighting across various U.S. locations.
Conclusion
Lighting is one of the most powerful tools in outdoor photography, and understanding how to use it in different environments can transform your images. Whether you’re chasing the perfect light in the desert, on a beach, or in a forest, these techniques will help you create stunning photos no matter where you are. Give these lighting strategies a try on your next shoot and share your results by tagging #usaprimeshot for a chance to be featured!